
Today I grouted a cute little piece -- and thought I'd show you how to 'dry grout'....it gets rid of that nasty pail of water that's difficult to dispose of. First pic is of the piece that has the tiles all attached to the wedi board with mastic. It's sitting on my workbench and has dried overnight.

 Next I covered the whole thing with dry grout and let it sit for 3-4 minutes. The dry stuff soaks up some water and raises the level of the grout that is in the spaces between the tiles.

Next, I use a pool noodle that I have cut into slices and I rub that over the dry grout to get down to the tiles. Stuff flies a bit! But I go over the whole piece, rubbing in a circular motion until all the tiles are revealed. Since the grout is a bit higher, you have to be careful to find all the little filler pieces and reveal the edges of all the tiles. Also, the textured tiles get filled in and need to be brushed out. Sometimes I use a toothpick but a toothbrush also works well to do this. Once I have all the grout smoothed and off the tiles, I let it set 5-10 minutes.

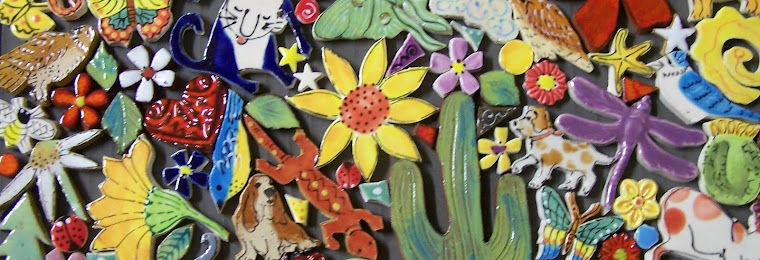
After the piece has set a bit, I take a soft rag and polish and it's done! Here is the finished piece! This one is a baby gift that a customer ordered and I personalized it with tiles with the birthdate and baby's name. I can just picture the little one pointing out the different animals as she learns their names!

This second pic is where I have spread the whole thing with black grout that was mixed with water. I like it mixed up pretty stiff -- I have spread it on with a damp sponge. Yes, it's a mess and you can barely make out any of the tiles. I'm careful to not pile on extra grout on top of the tiles.
 Next I covered the whole thing with dry grout and let it sit for 3-4 minutes. The dry stuff soaks up some water and raises the level of the grout that is in the spaces between the tiles.
Next, I use a pool noodle that I have cut into slices and I rub that over the dry grout to get down to the tiles. Stuff flies a bit! But I go over the whole piece, rubbing in a circular motion until all the tiles are revealed. Since the grout is a bit higher, you have to be careful to find all the little filler pieces and reveal the edges of all the tiles. Also, the textured tiles get filled in and need to be brushed out. Sometimes I use a toothpick but a toothbrush also works well to do this. Once I have all the grout smoothed and off the tiles, I let it set 5-10 minutes.

After the piece has set a bit, I take a soft rag and polish and it's done! Here is the finished piece! This one is a baby gift that a customer ordered and I personalized it with tiles with the birthdate and baby's name. I can just picture the little one pointing out the different animals as she learns their names!
Wrap up the newspaper and dispose of it in the garbage and you're done! This way is so much easier to clean up!
No comments:
Post a Comment